
When Panic Hits at Passport Control
It can happen in seconds—you reach for your teen’s passport, and it’s gone. Maybe it was left behind at a café, maybe it slipped out of a bag, or maybe it was stolen. Either way, being stranded abroad without identification is a parent’s nightmare. But don’t worry—this isn’t the end of your vacation or your sanity. Here’s exactly what to do next.
Keep Calm and Take Stock
The first step is to breathe. Losing a passport feels catastrophic, but panicking won’t help. Sit down with your teen, retrace your steps, and check every pocket, bag, and drawer. Sometimes the “lost” passport turns up hiding in plain sight.

Secure Your Other Valuables
Before you focus on the missing document, make sure your remaining IDs, credit cards, and cash are safe. Lock them up in your accommodation’s safe or keep them on your person in a money belt.
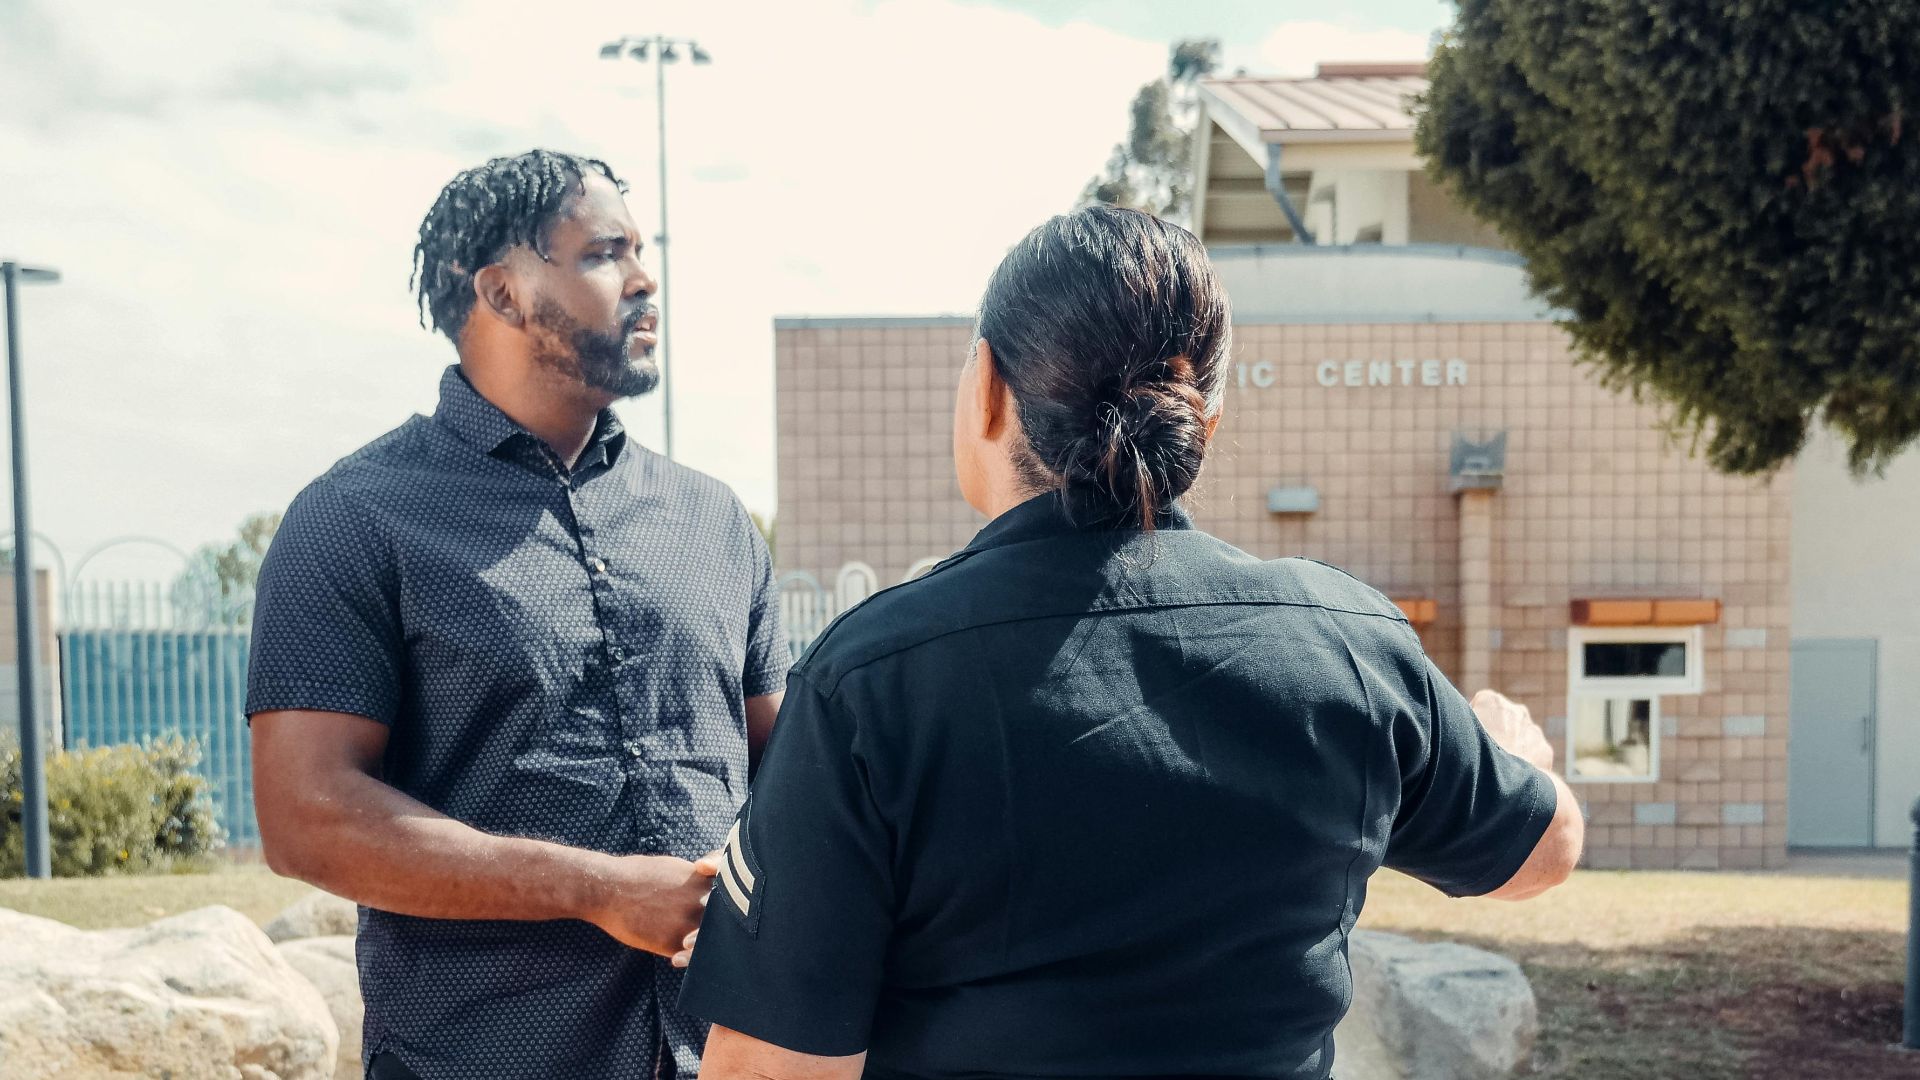
File a Report Immediately
Head to the nearest station and report the loss within 24 hours. You’ll need this report to apply for an emergency passport, and it can also support any travel insurance claims.
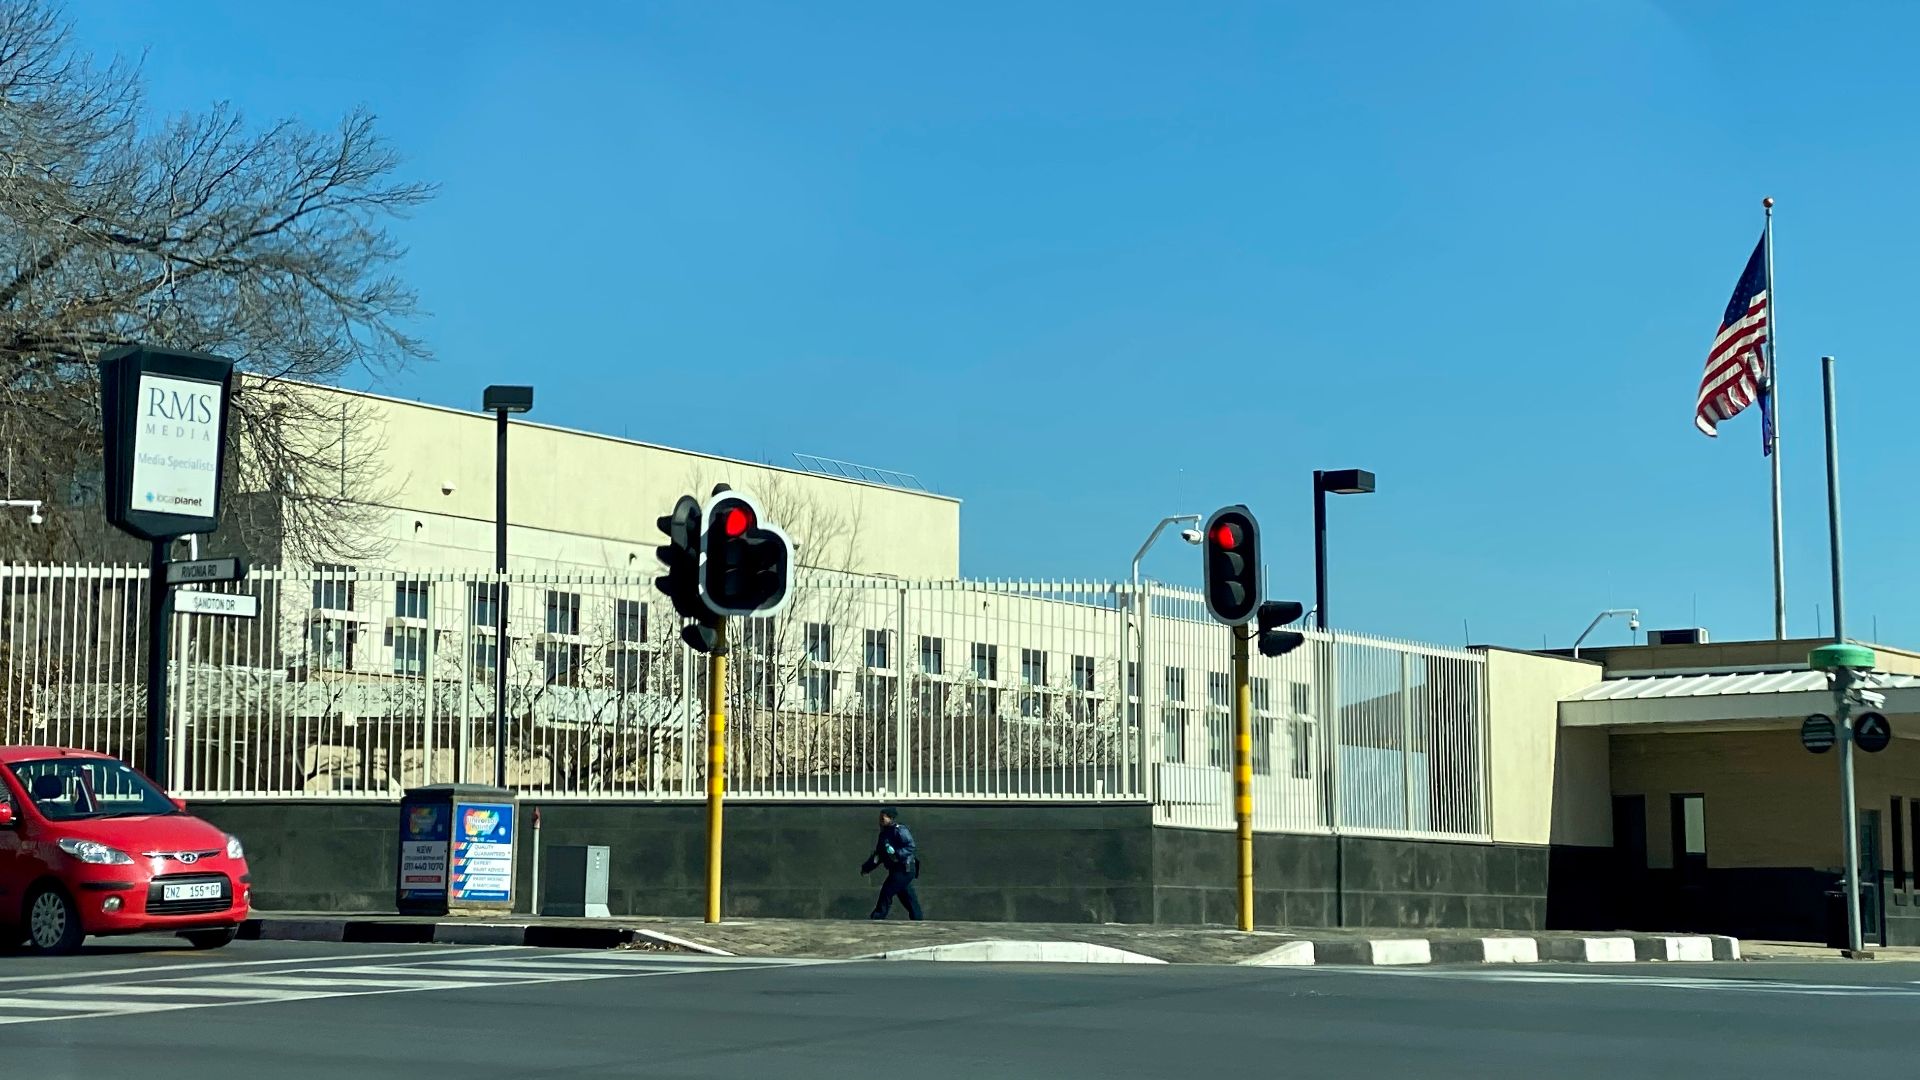
Visit Your Embassy or Consulate
Your country’s embassy or consulate is your lifeline now. Bring the report, any ID copies you have, and an explanation of what happened. Staff will verify your teen’s details and start the process of issuing an emergency passport.
Don’t Worry About the Cost—Yet
Emergency passports often come with a fee. If you have enough local currency or access to a credit card, you can pay upfront. If not, embassy staff can provide a temporary confirmation of your passport details while you secure funds.
Ask About Legal and Travel Advice
While you’re at the embassy, ask about any implications or travel restrictions. Staff can tell you if your teen will need extra documentation to pass through other countries before returning home.

Find an Internet Connection
Next, locate free internet access—libraries, hostels, or cafés often have Wi-Fi. You’ll need it to access scanned copies of your teen’s ID and contact family back home.

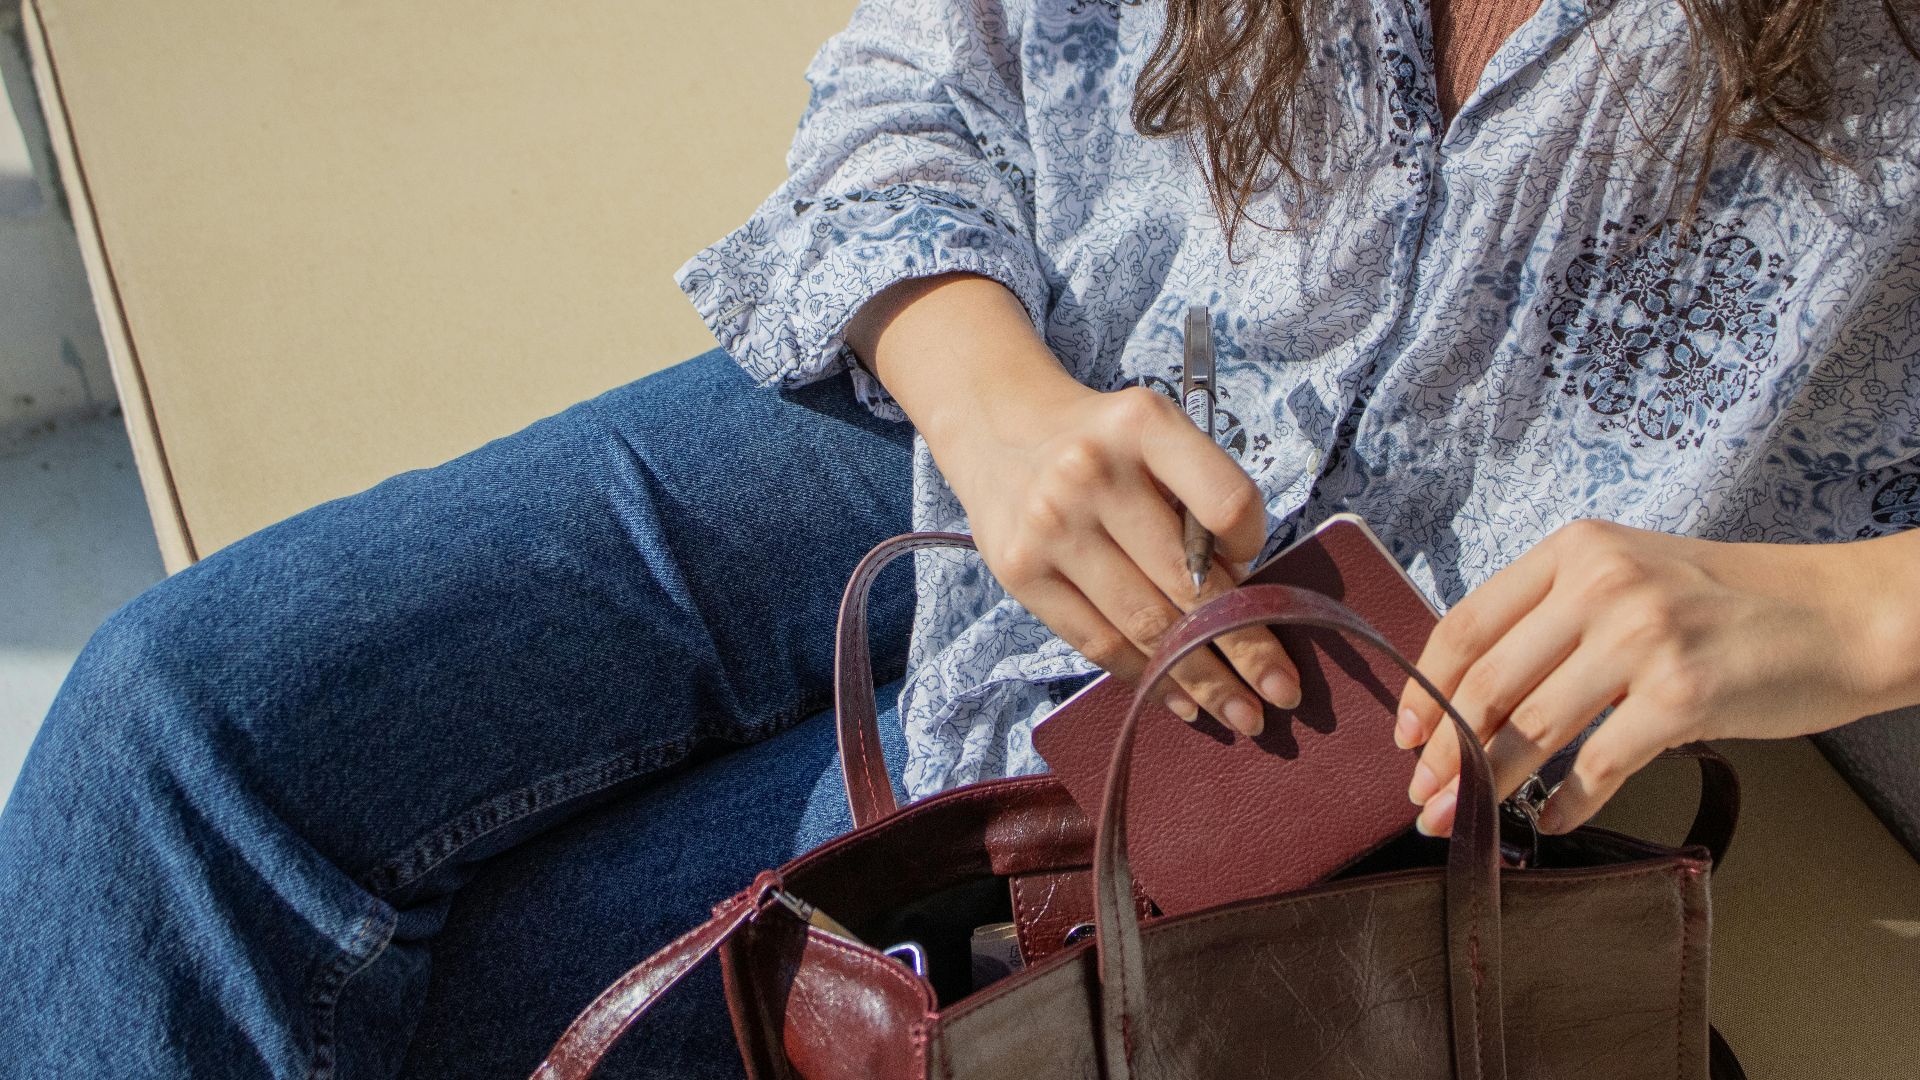
Retrieve Your Scanned Documents
If you followed best travel practices and emailed yourself copies of important documents, now’s the time to print them. These digital backups can prove identity and speed up the emergency passport process.

Contact Family or Friends for Help
Reach out to someone back home through email, Facebook, or Skype. They can wire money, coordinate with your bank, or even talk to the embassy on your behalf.

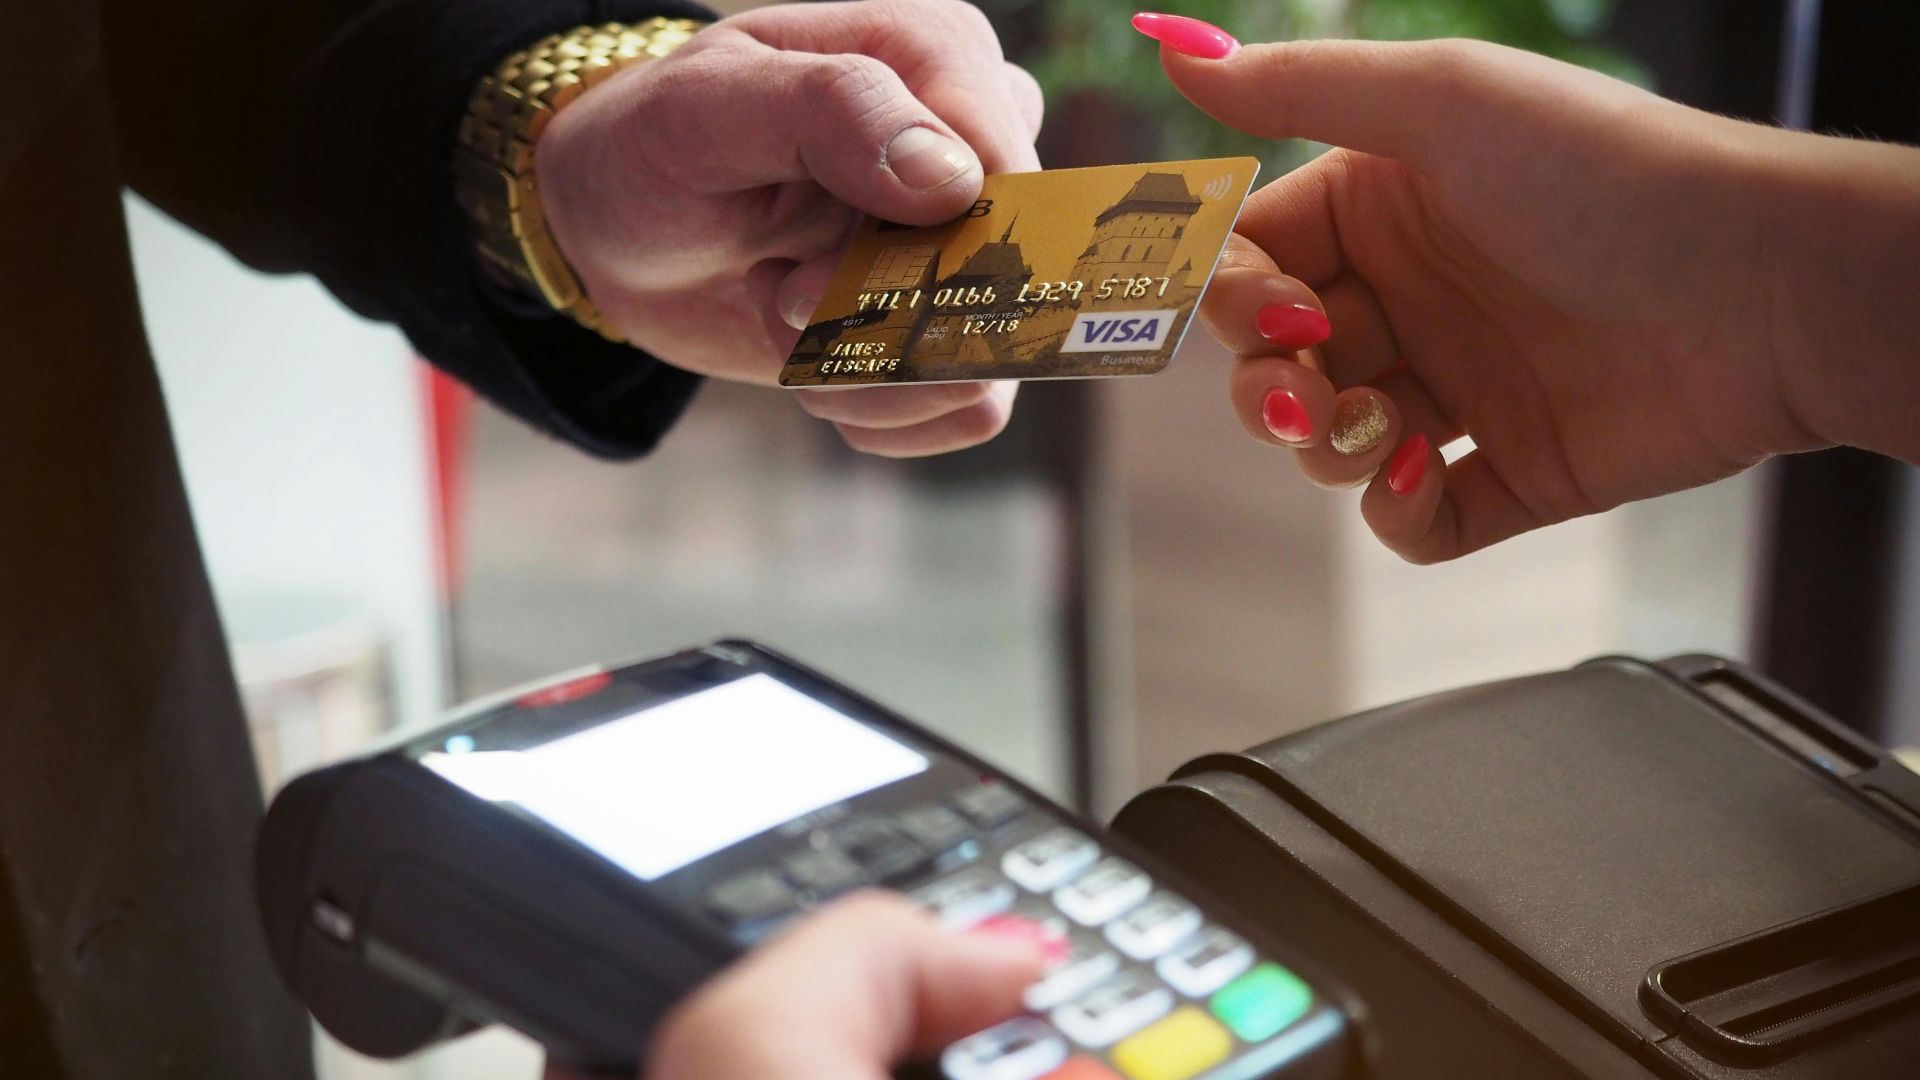
Use Western Union or Similar Services
Once money has been sent, head to a Western Union office. You can collect the funds using the report, embassy documentation, and the printed copy of your teen’s ID.

Buy Your Emergency Passport
With funds in hand, return to the embassy. Purchase the emergency passport—it will usually allow you to travel through up to five countries before it expires.

Keep Copies of Everything
Before leaving the embassy, make photocopies of your new emergency passport and any supporting paperwork. Store them separately from the originals in case lightning strikes twice.

Contact Your Airline
Notify your airline as soon as possible. They may require passport details for check-in or ticket changes. Some carriers are flexible in emergencies and will help rearrange your travel plans.

Review Your Travel Insurance
If you have travel insurance, contact the provider. You may be reimbursed for emergency document costs, accommodation, or missed flights.

Keep Your Teen Calm and Informed
Your teen is probably panicking. Reassure them that passports can be replaced, and this will become just another travel story someday. Involving them in each step can also teach them valuable responsibility.

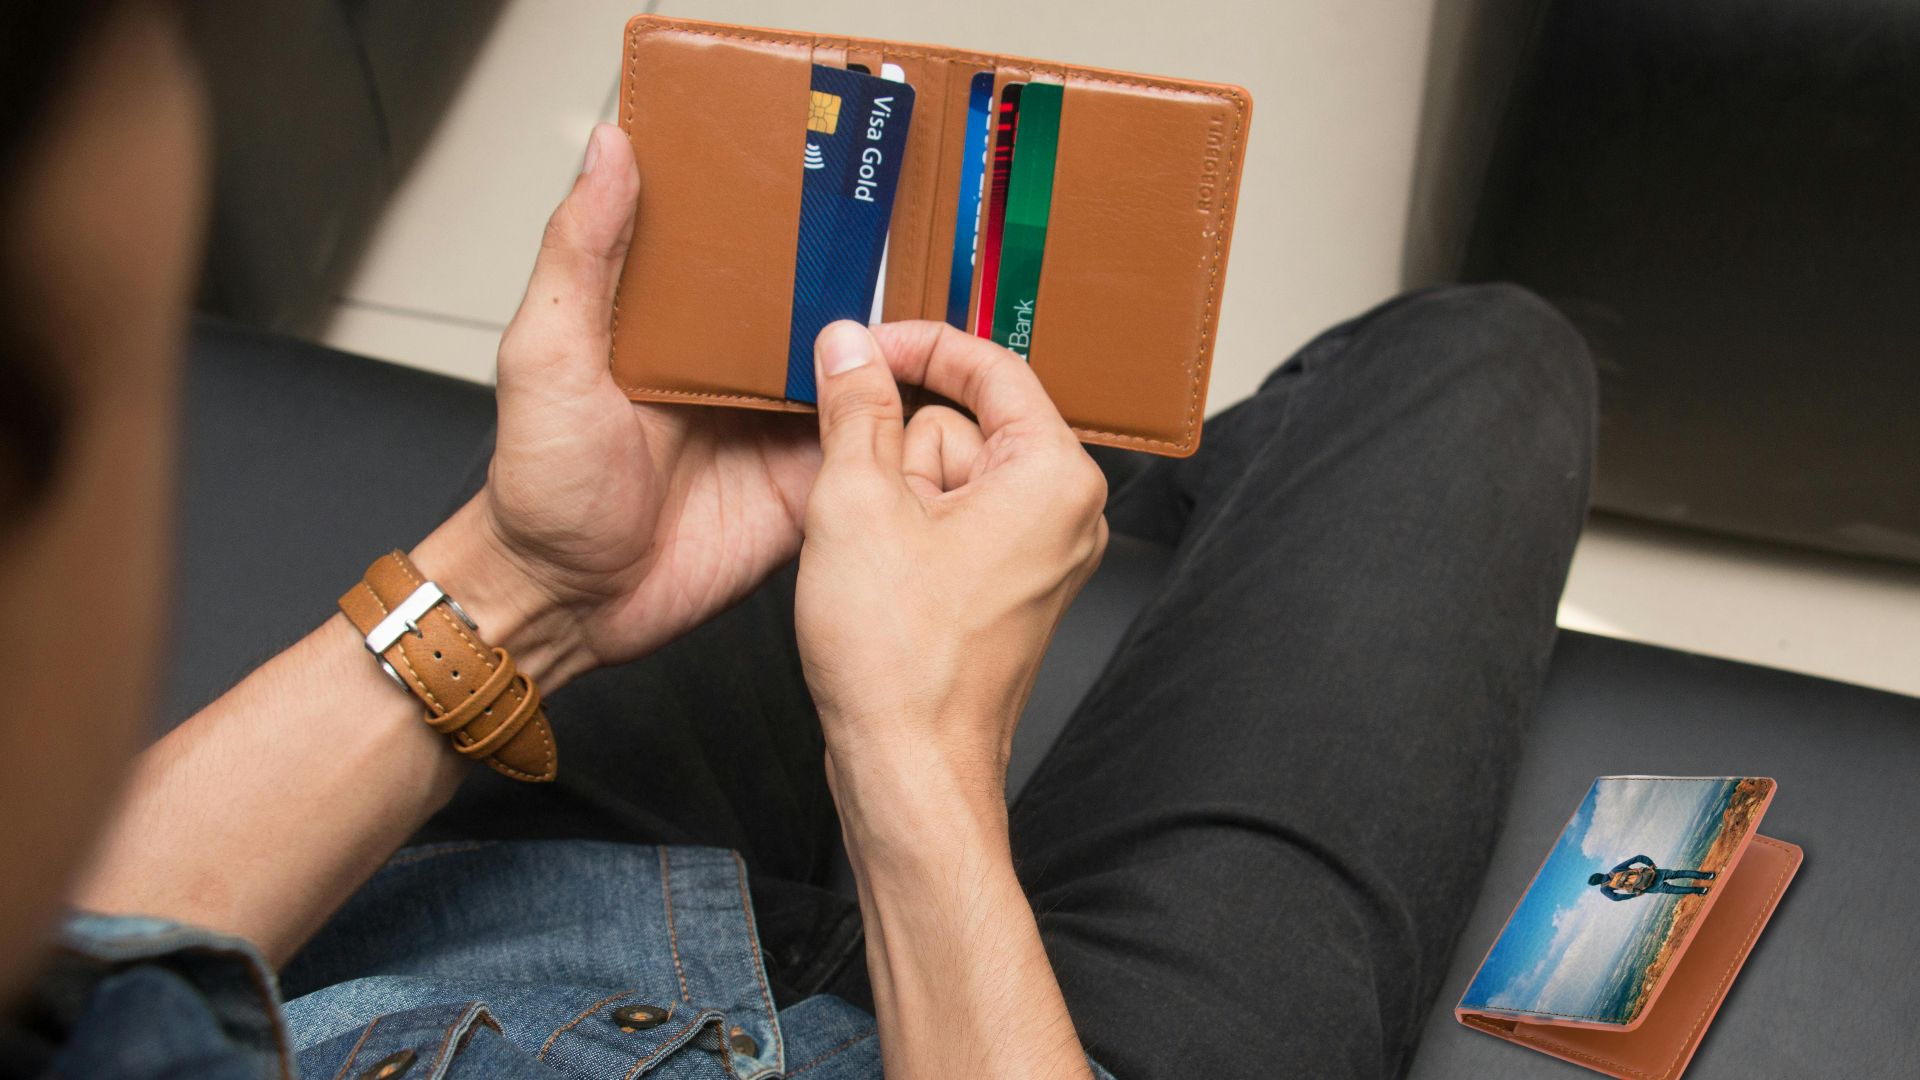
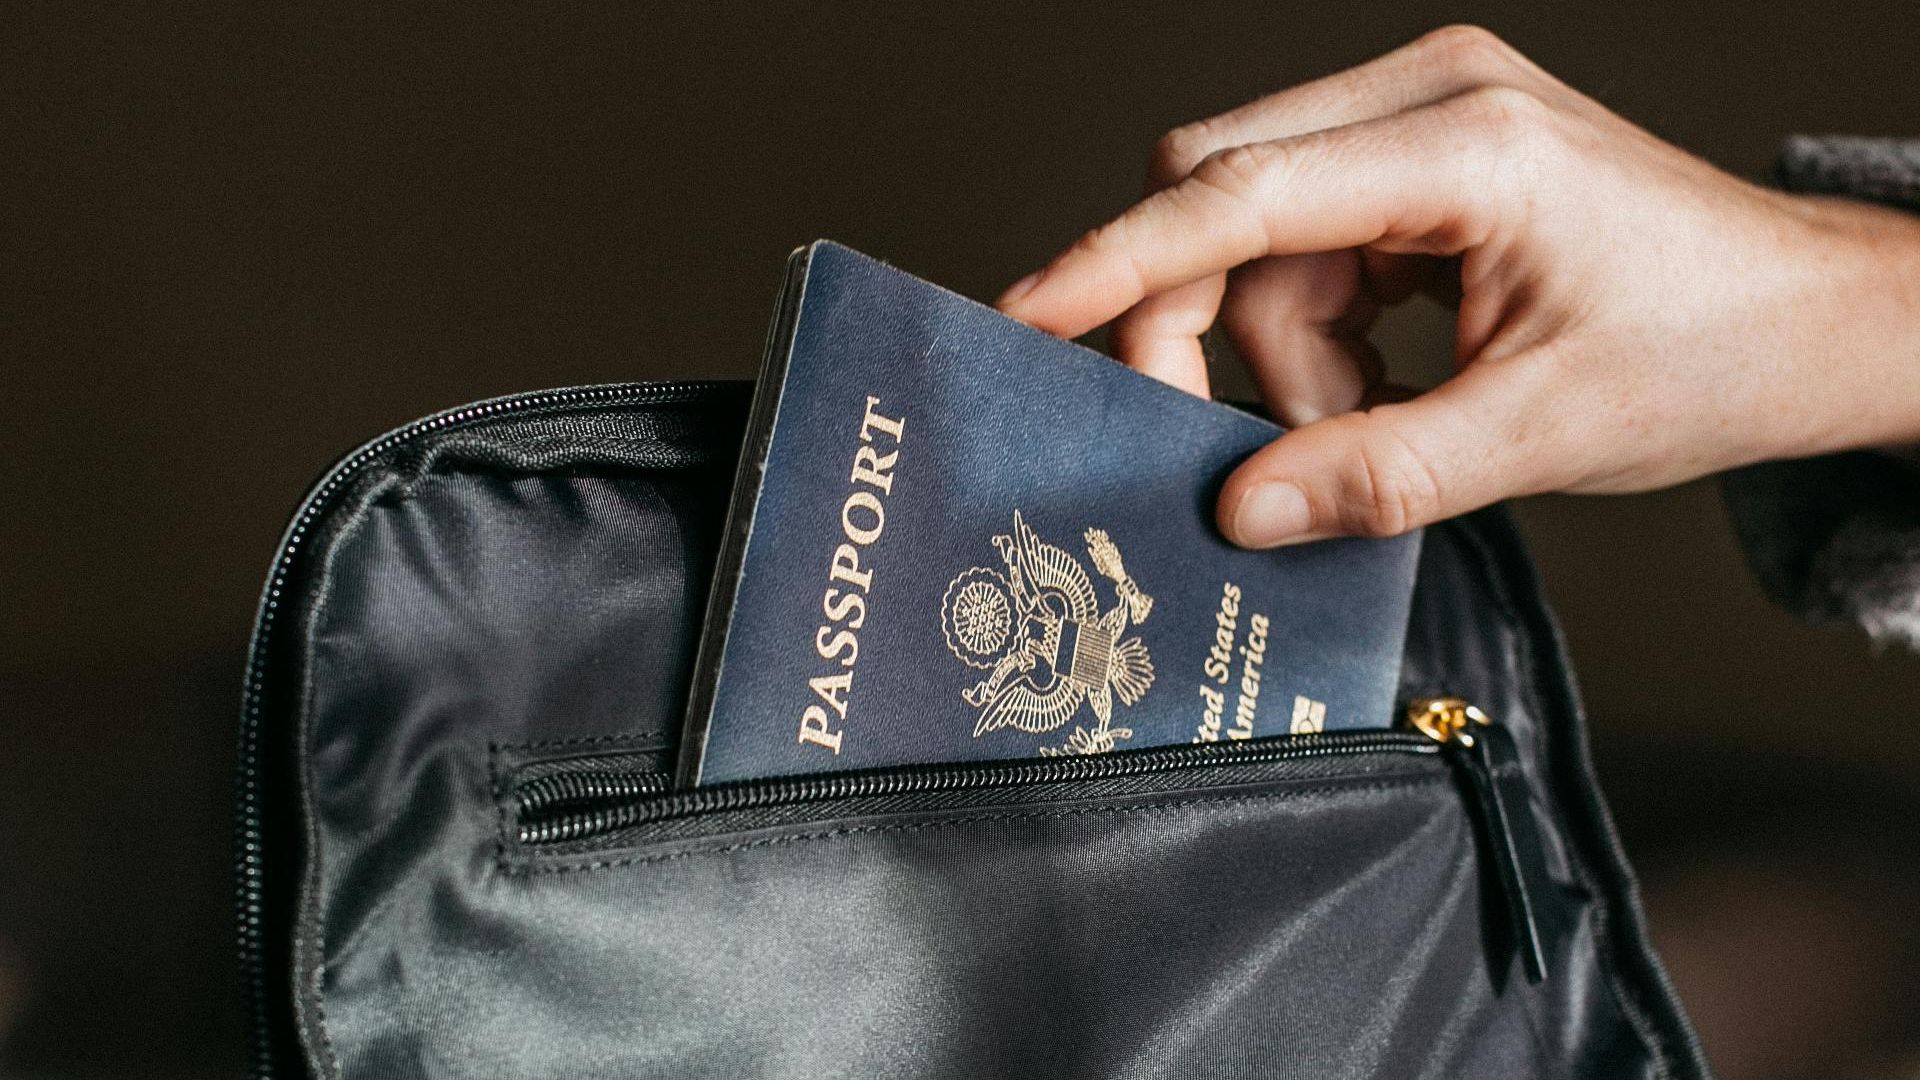
Store Remaining IDs Separately
Once you’re back on track, divide and secure the rest of your important items. Keep one ID with you and another in a separate, locked location.
Avoid Carrying the Passport Everywhere
In the future, leave passports safely stored in your accommodation unless you’re required to carry them. A photocopy or driver’s license will often suffice for ID checks.
 Vinta Supply Co. | NYC, Pexels
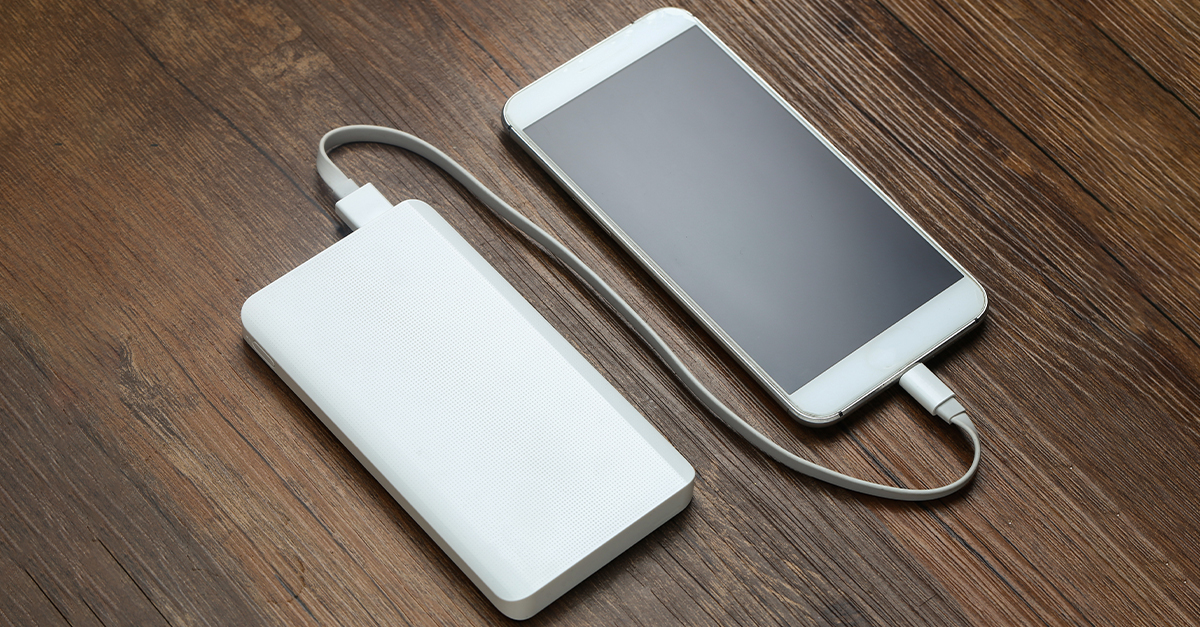
Keep Emergency Funds Hidden
Maintain a small stash of emergency cash—US dollars are widely accepted worldwide. Stash it discreetly in your luggage, away from your main wallet.

Update Your Emergency Contacts
Make sure a family member or trusted friend has access to your financial accounts or is added as a joint holder. This can make refunds or money transfers much smoother in a crisis.

Plan Ahead for Next Time
Once you’re home, take this as a learning experience. Always travel with multiple ID copies, digital backups, and a calm plan for the unexpected. Losing a passport isn’t fun—but knowing what to do makes all the difference.

You May Also Like:
The Most Dangerous Selfie Spots In The World
Source: 1